- Home
- Team & Inspiratie
- DIY inspiratie
- Jolandes Favoriet | Jolande Favourite
Jolandes Favoriet | Jolande Favourite

Vandaag een echte mixed media-tutorial, waar ik erg blij mee ben, ik ben dol op deze techniek, maar het blijft altijd uit te proberen.
Ik heb het stap voor stap gemaakt, wanhoop niet als het fout gaat, blijf het gewoon proberen !!
Per stap hebben we links opgenomen naar de juiste producten.
---
And off course also a english version of this tutorial......
Today a real mixed media tutorial, one that I am very happy with, I love this technique but it always remains to try it out.
I made it step by step, don't despair if it goes wrong, just keep trying !!
Stap 1
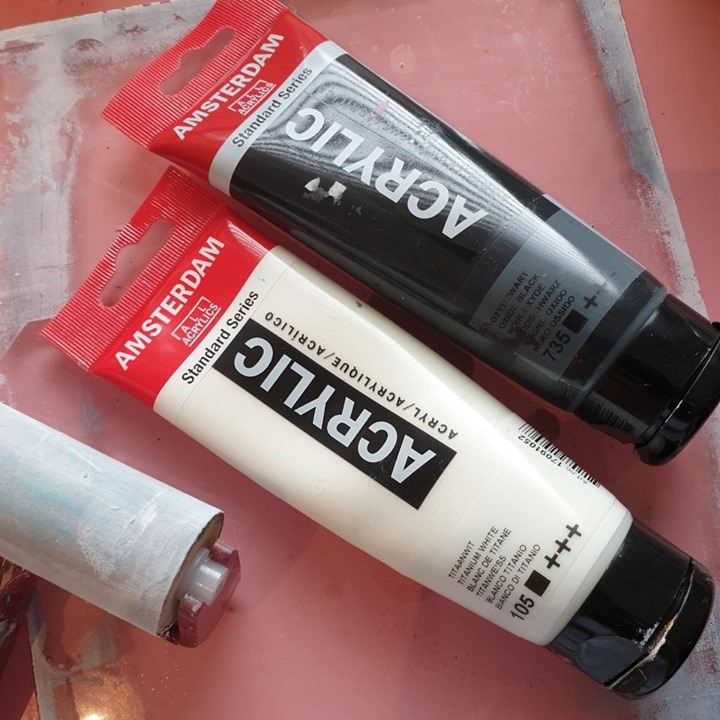
wat heb je nodig zwarte en witte verf (let op dekkende verf) een roller en een gelli plate.
Daarnaast een pagina uit een fancy maandblad let op de kwaliteit van het papier, de zogenaamde roddelbladen zijn gemaakt van te dun papier. De vogue is een goed blad, je hebt dan kwaliteits papier. Voor Nederland werkt de LINDA perfect !!
---
Step 1
what do you need black and white paint (pay attention to opaque paint) a roller and a gelli plate. In addition, a page from a fancy sheet, pay attention to the quality of the paper, the so-called gossip magazines are made of too thin paper.
The vogue is a good sheet, you need that quality of paper. For the Netherlands, the LINDA works perfectly !!
Stap 2
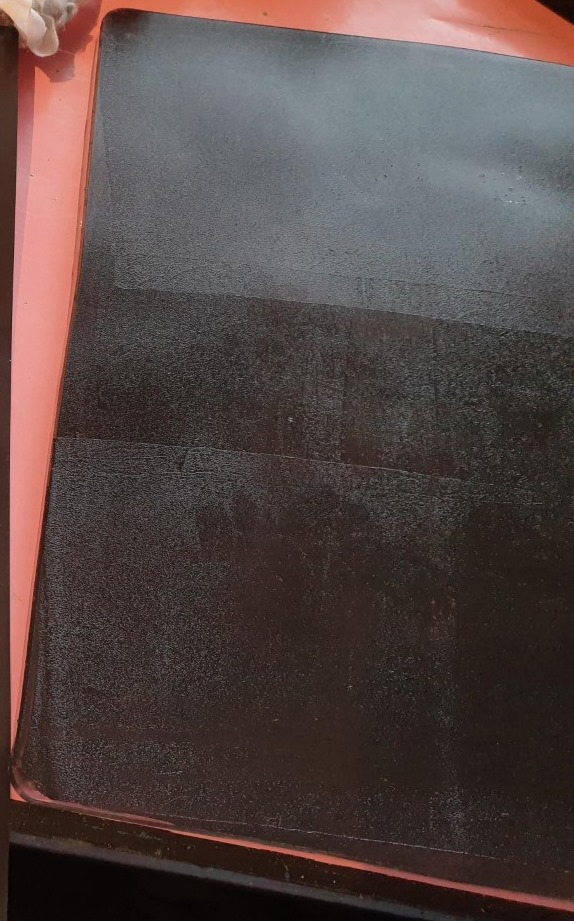
Doe een klein beetje zwarte verf op je gelli plate en rol uit
---
Step 2
Put little black paint on your gelli plate and roll out.
Stap 3
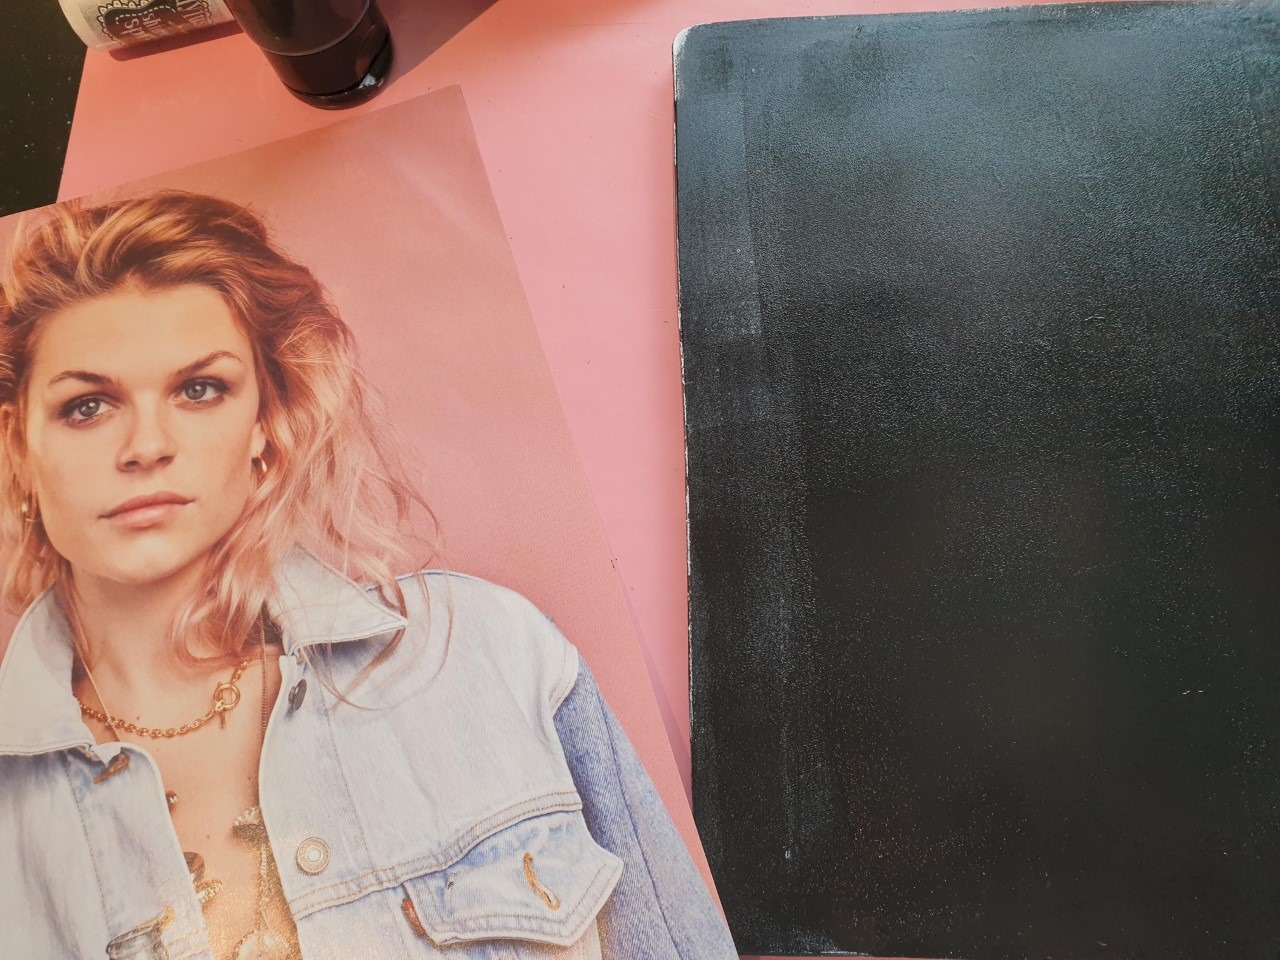
Plaats de pagina met de bedrukte zijde naar beneden op de zwarte verf, rol met de roller of wrijf goed met je handen.
---
Step 3
Place the page on the black paint face down, roll with the roller or rub well with your hands.
Stap 4
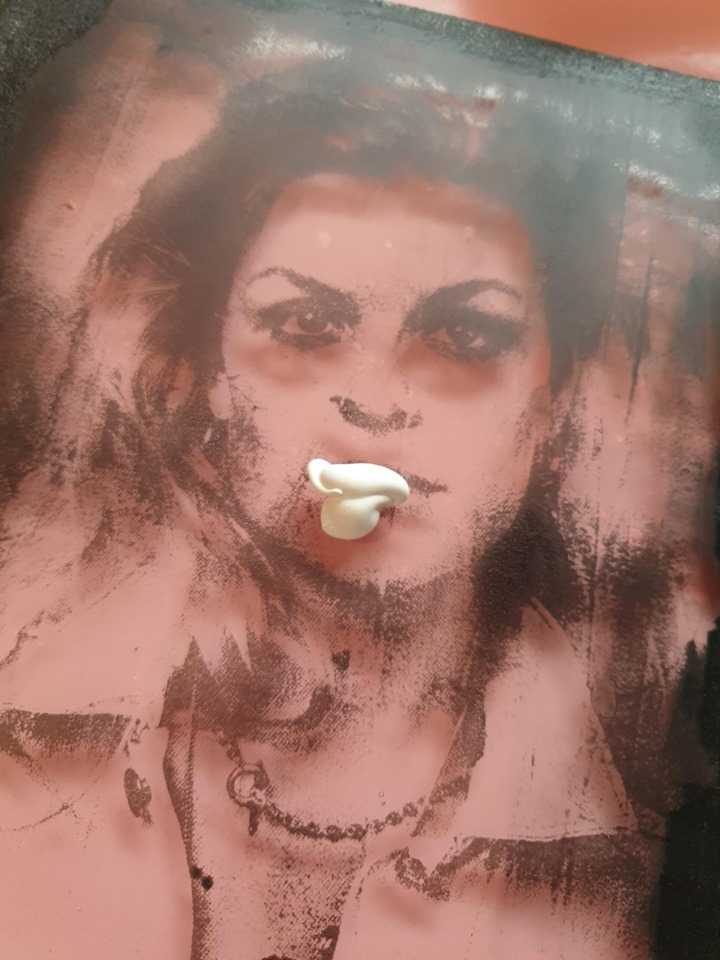
verwijder voorzichtig de pagina. (hier kunt u zien of het werkt of niet).
----
Step 4
Carefully remove the page. (here you can see whether it works or not).
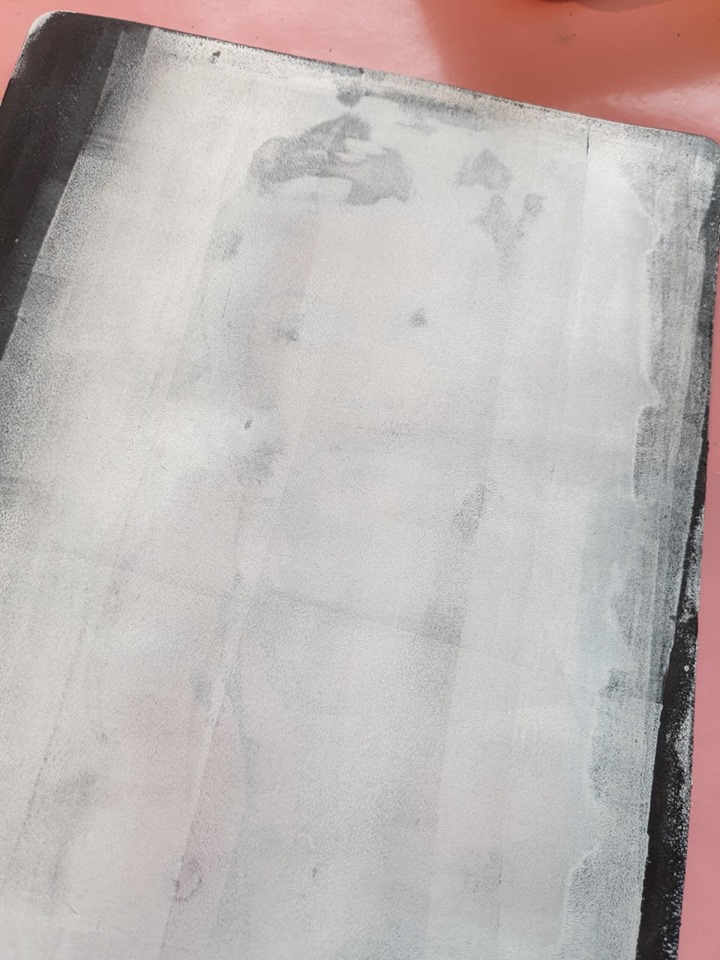
Stap 5
Witte verf aanbrengen en uitrollen (dunne laag !!!!!).
---
Step 5
Apply white paint and roll out (thin layer !!!!!).
Stap 6
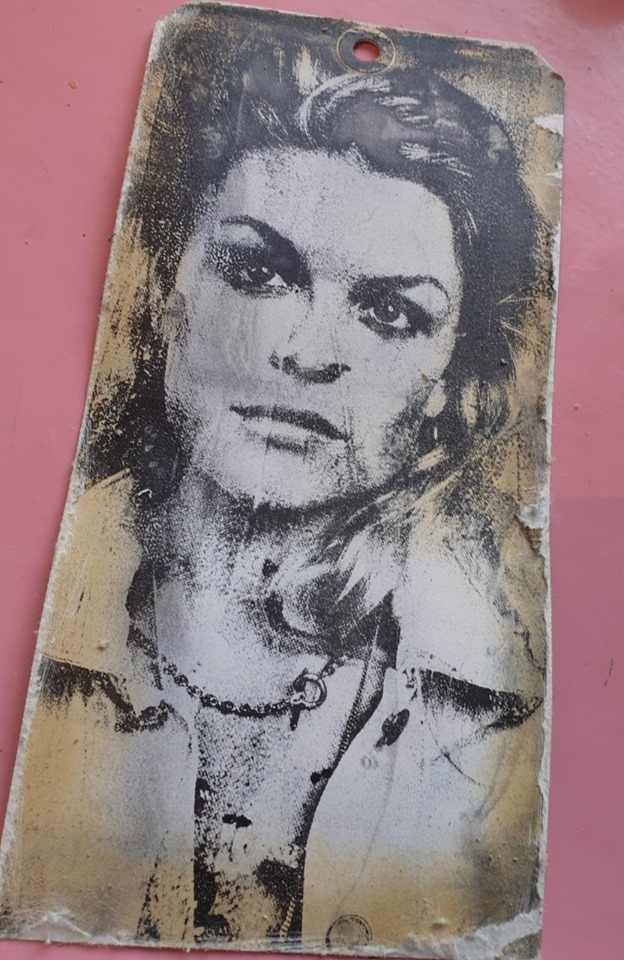
leg je tag / kaart / papier erop en druk goed met de roller of met je handen.
---
Step 6
Put your tag / card / paper on it and press well with the roller or with your hands.
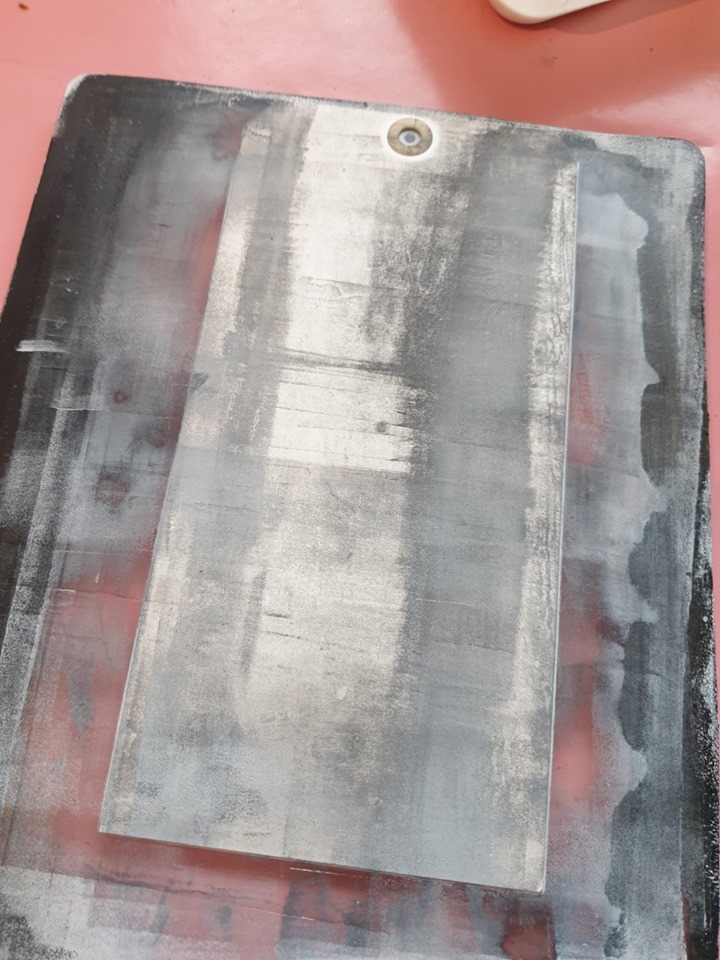
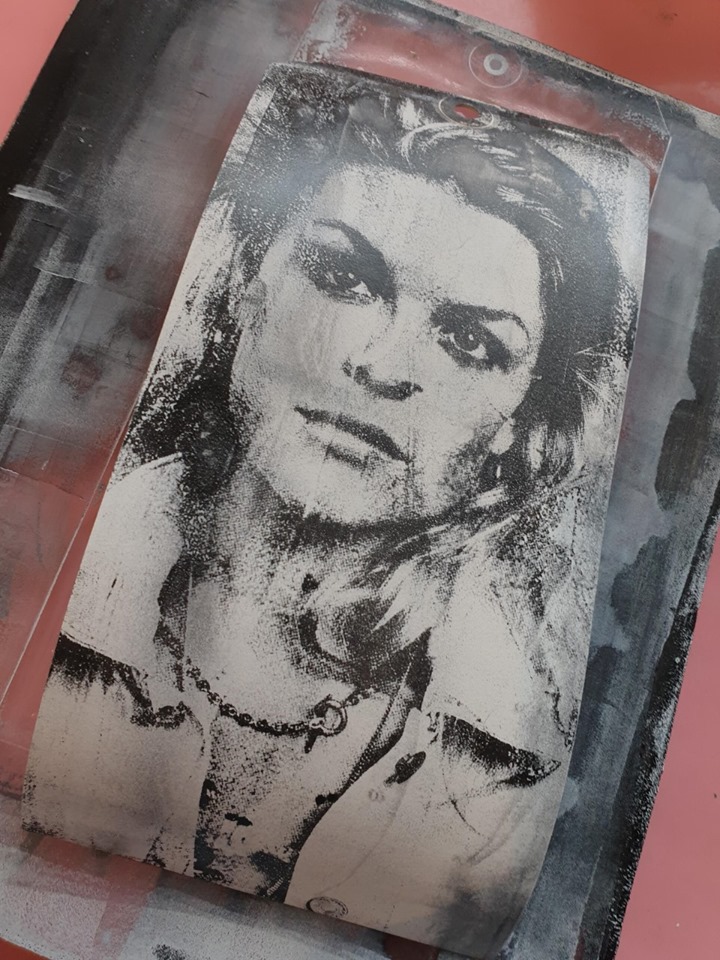
Stap 7
verwijder voorzichtig de tag (niet laten intrekken want dan blijft het papier aan de gelli plate plakken..
---
Step 7
Carefully remove your project. Not leave it to long on your gelli because it might stick to it and tear your tag.
Stap 8
Breng bruine inkt aan op de randen met een distress tool.
---
Step 8
Apply brown ink to the edges with distress tool.
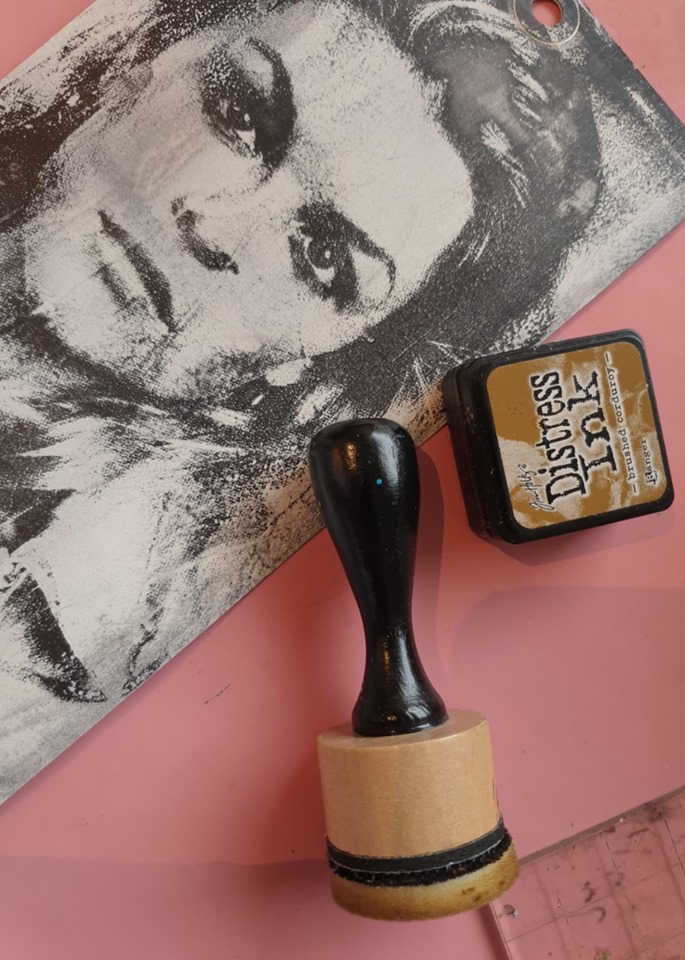
Stap 9
Ruw de randen op met een speciale distresstool of schuurpapier.
Breng opnieuw bruine inkt aan op de randen.
---
Step 9
Roughen the edges with a special distress tool or sandpaper. Apply brown ink to the edges again.
Stap 10
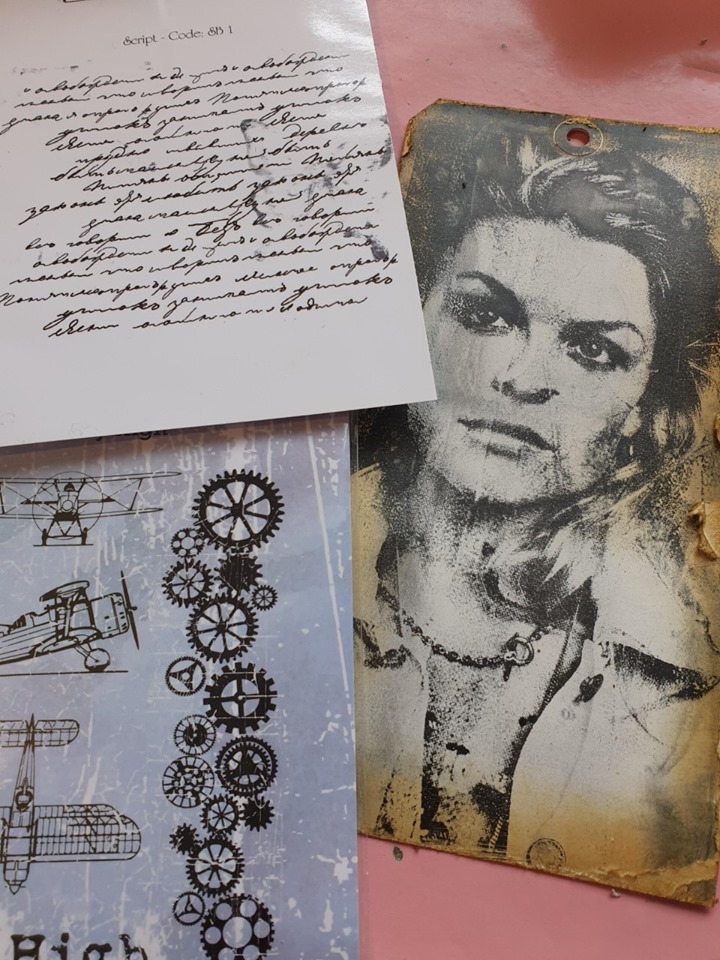
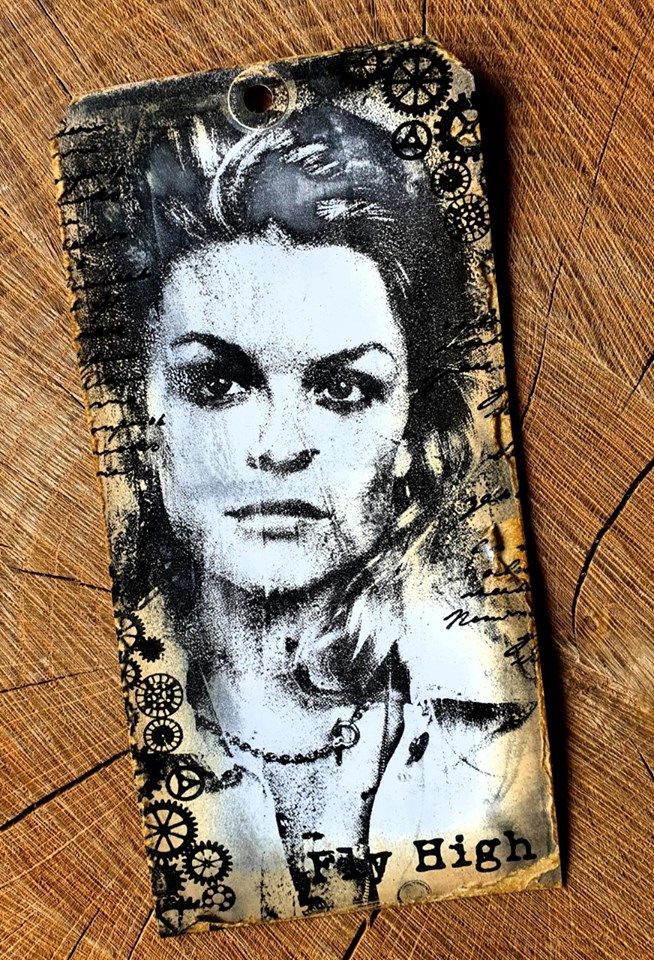
Stempel een mooie tekst en je tag is klaar !!
---
Step 10
Stamp some decorations on it and some text and your tag is ready !!
Gebruikte producten | Used materials
Acrylverf wit Amsterdam | Acrylverf wit PLUS (alternatief)
Acrylverf Zwart Amsterdam | Acrylverf zwart PLUS (alternatief)
